 |
Phone/Text
|
|
| Home News Pictures Privacy | ||
Instructions for the Battery Powered X2 Mini Mill Tachometer.This is a very easy unit to
install. | ||
No wires to run!.I
did all the wiring for you. There is no easier install. | ||
Step 1. Unplug your mini mill and all accessories attached to it. | ||
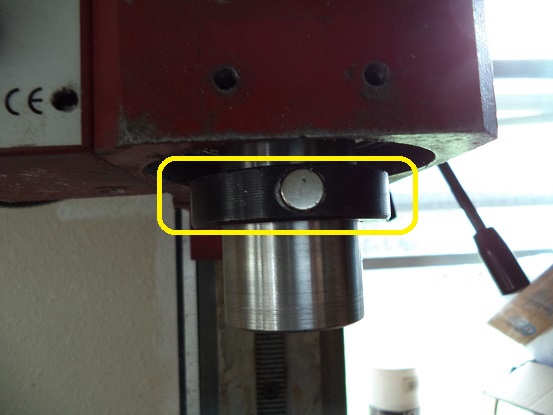
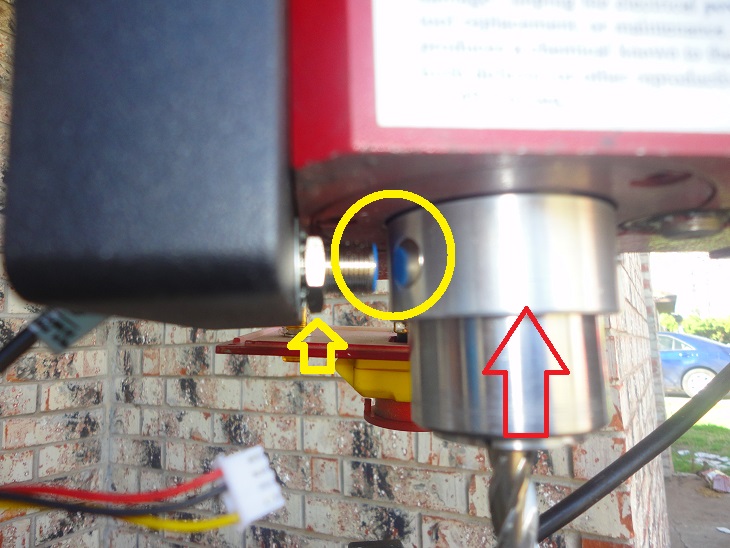
Step 2. Install the ring on the spindle with the magnet as shown and tighten only one of the setscrews. | ||
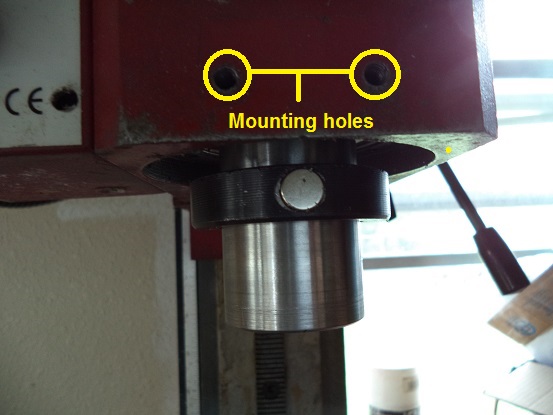
Step 3. These are the mounting holes for the tach, they will be used by the two M5x10 button head cap screws included in the tachometer kit. | ||
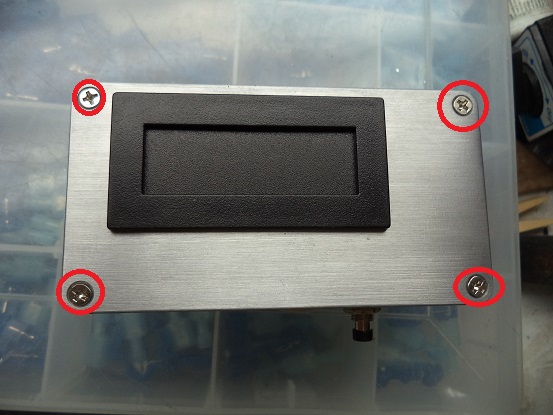
Step 4. Remove the 4 phillips had screws holding the tachometer case cover to the case and put them in a safe place as you will want them later. | ||
Step 5. Mount the tachometer case to the mill head with the two M5x10 button head cap screws as shown with the Magnetic battery mount to the right. | ||
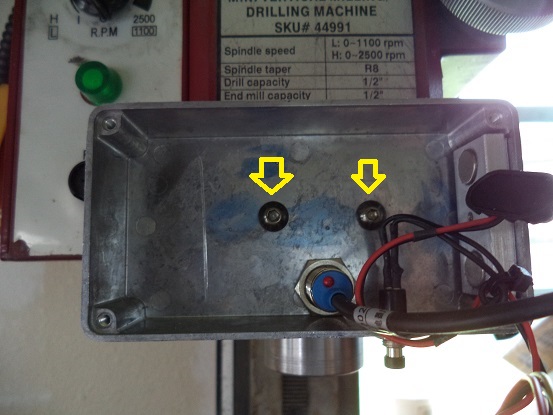
Step 6. The sensor should be 1mm to 1.5mm from the magnet on the ring and adjust the ring so the magnet is centered on it and tighten both set screws on the ring. If there is any uniformity in the head casting the gap should be set already. If for some reason you need to set this distance you will have to remove the nut and lock washer and pull the sensor out make the adjustment to the interior nut and check the gap. When it is satisfactory reinstall the lock-washer and nut. | ||
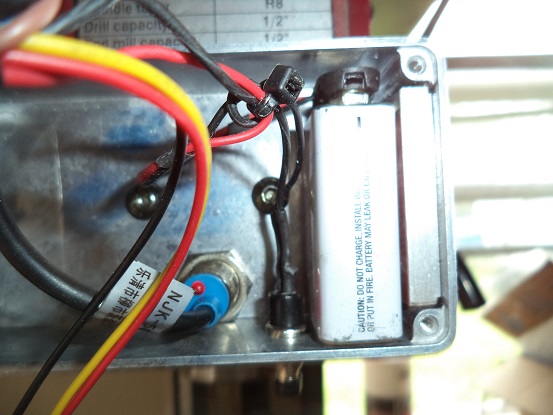
Step 7. Install a 9 bolt battery as shown with the negative pole to the front. | ||
Step 8. Plug in your mill, turn it on to a slow speed and
push the button. If everything is ok so far the LED on the sensor should
flash every time the magnet comes around. If it's not flashing get a
different battery. I test all of these units before they leave the shop so
I know it worked here.
| ||
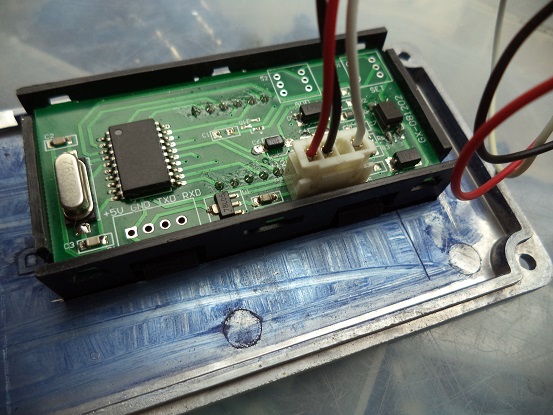
Step 9. Now plug in the tachometer face with the plug as shown and carefully tuck in the wiring as you screw the cover back on with the screws I told you to keep in a safe place. Your tack only reads with the button pushed. I use this type of switch to maximize the battery life. | ||
Copyright 2013-2021 OnCNC.com All rights reserved. | ||